This guide will walk you through setting up Ubuntu Server 18.04 on your CS144 VM. This distribution gives a reasonably streamlined installation with few unnecessary background tasks running by default.
NOTE If you want a graphical interface, we strongly recommend using the prepared image. Otherwise, if you install an Ubuntu Desktop variant following these instructions, NetworkManager may interfere with your completing the assignments.
Install VirtualBox.
If your host OS is linux, your distribution may already package virtualbox:
On Debian-derived distributions (like Ubuntu), apt-get install virtualbox
On arch, pacman -S virtualbox virtualbox-host-modules-arch (or virtualbox-host-dkms if you’re running a custom kernel)
CentOS (and probably Fedora) users should consult the wiki
Download the installation image. If you’re using the recommended Ubuntu Server image, we’ve made a local mirror for faster downloading. Otherwise, download and verify your preferred installation medium.
This is a large file, so use a wired connection or sit close to an access point while downloading!
IMPORTANT: if you are downloading an installation image other than the recommended one, you should cryptographically verify it before using it. Compromised ISOs are an increasingly common issue—never use an unverified ISO! (We promise our local mirror won’t pwn you. But you should verify it anyway.)
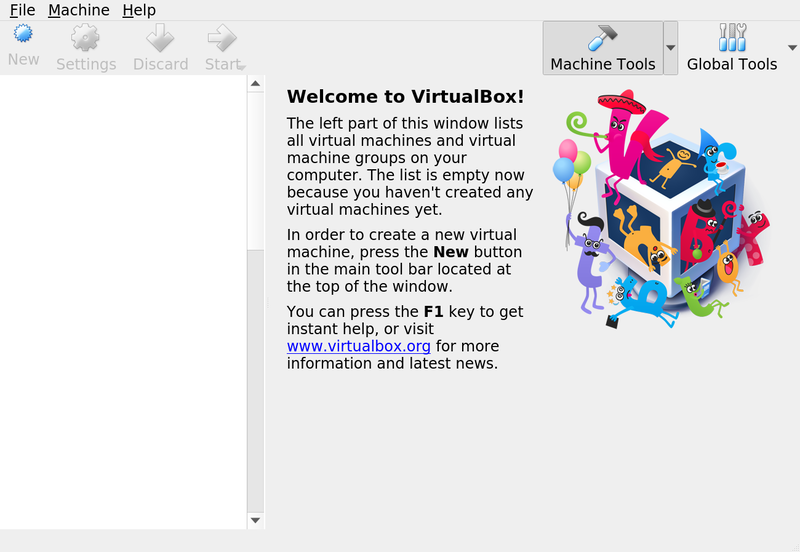
Start VirtualBox. You should see this:
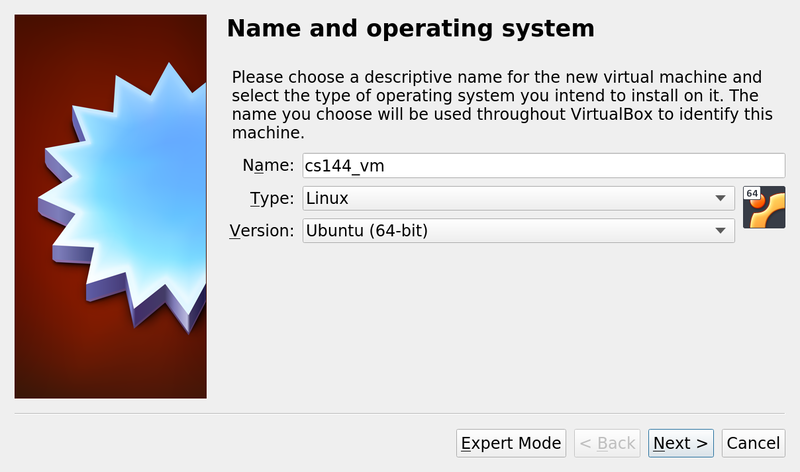
Click the New icon or type Ctrl-N to bring up the new VM dialog. As shown below, you’ll need to choose a name for your VM, select “Linux” for the Type, and select “Ubuntu (64-bit)” for the Version.
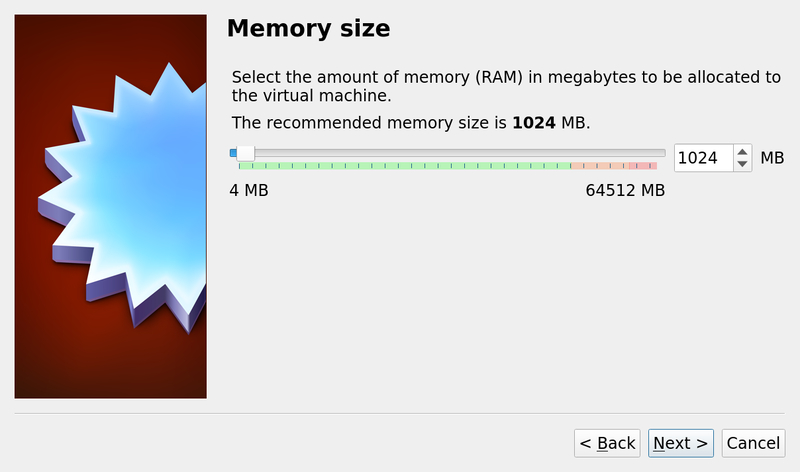
Next, select the amount of RAM to allocate to your VM. You should allocate at least 1 GiB, but more is better, provided that your machine has the RAM to spare.
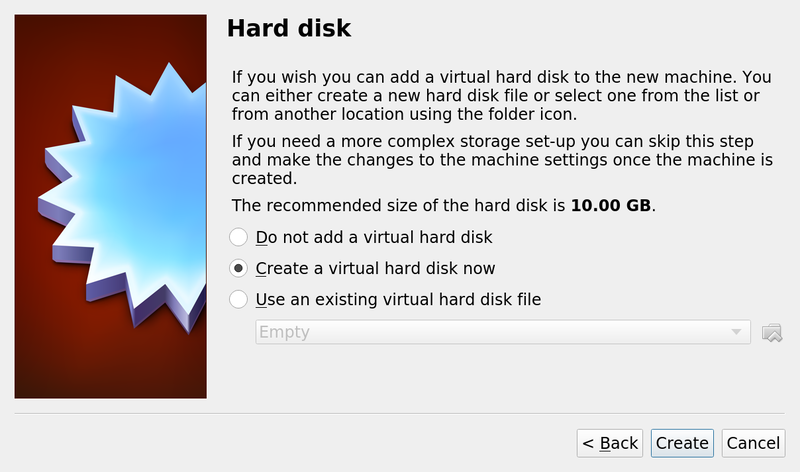
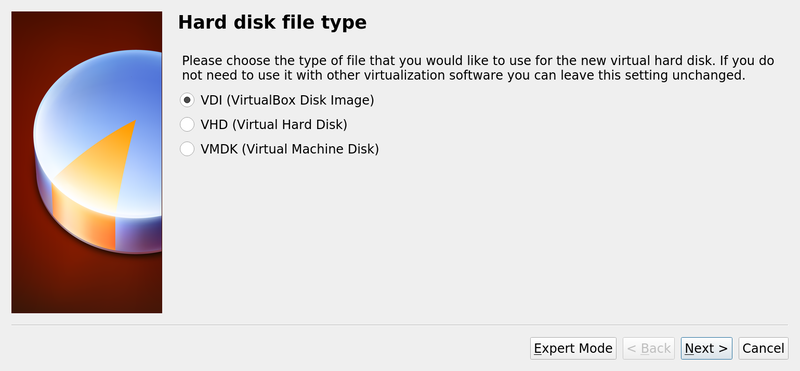
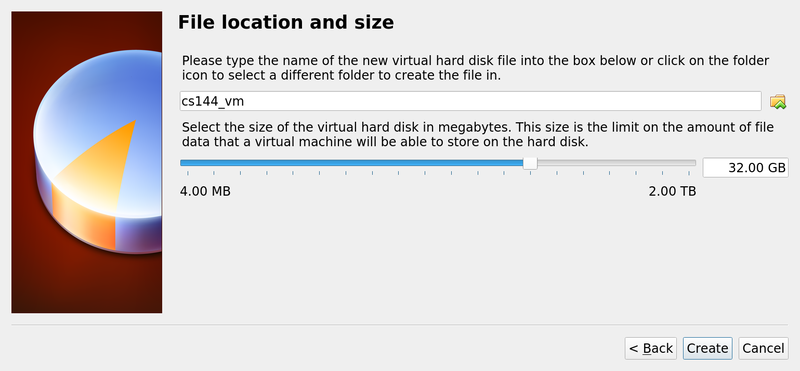
Next, choose to Create a virtual hard disk now, choose a VDI image, dynamically allocate space, and increase the image size from the default to 32 GiB. (Don’t worry: it’s dynamically allocated, so it won’t actually take up 32 GiB on your hard drive.)

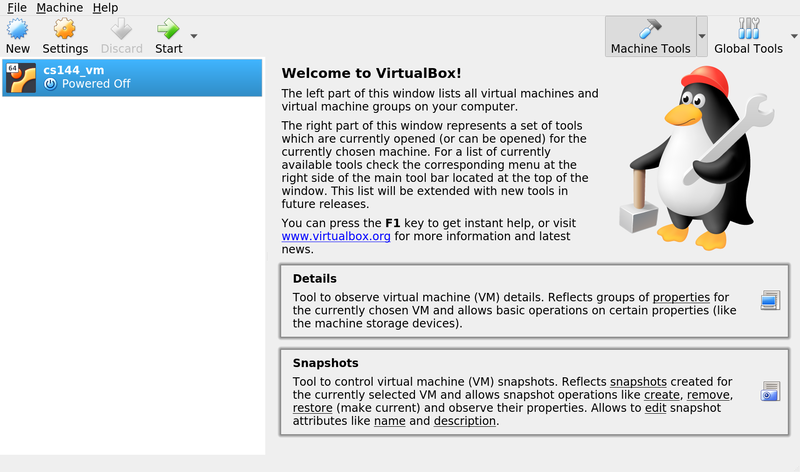
You should now be back at the VirtualBox home screen:
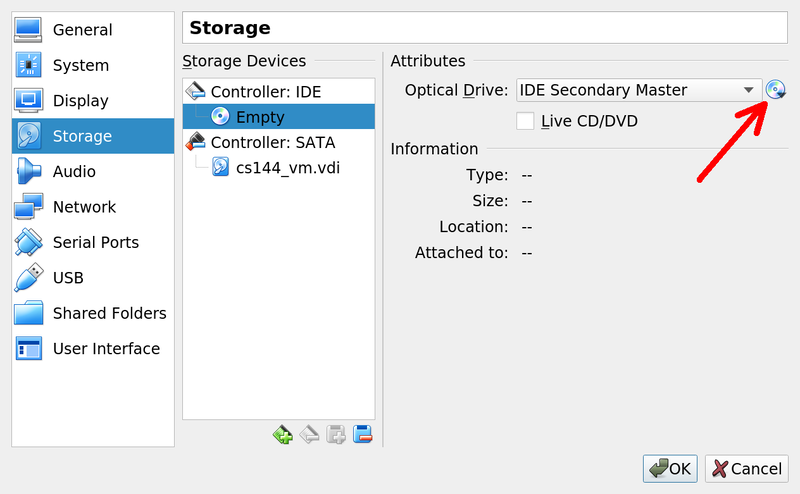
Click the Settings icon or type Ctrl-S to bring up the Settings dialog:
You’ve set up the VM. Now it’s time to install Ubuntu.
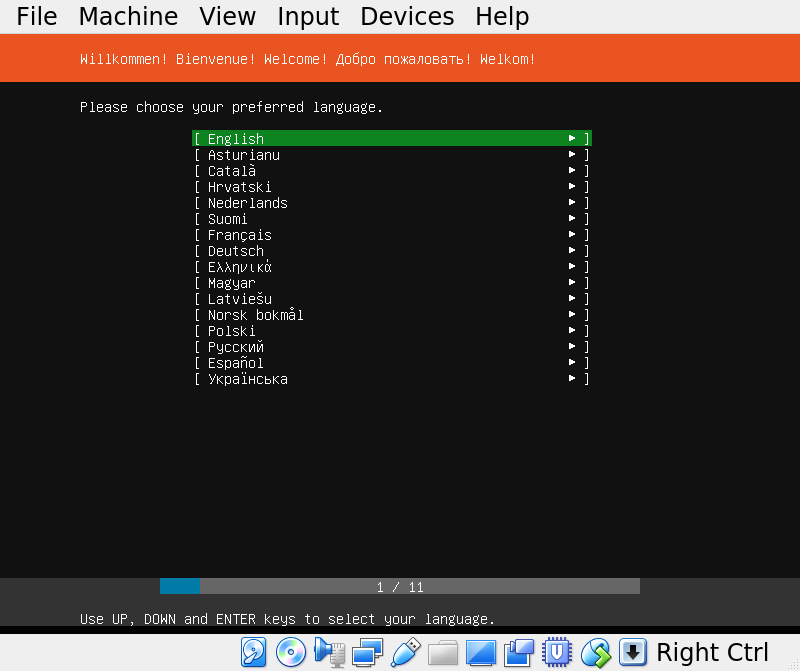
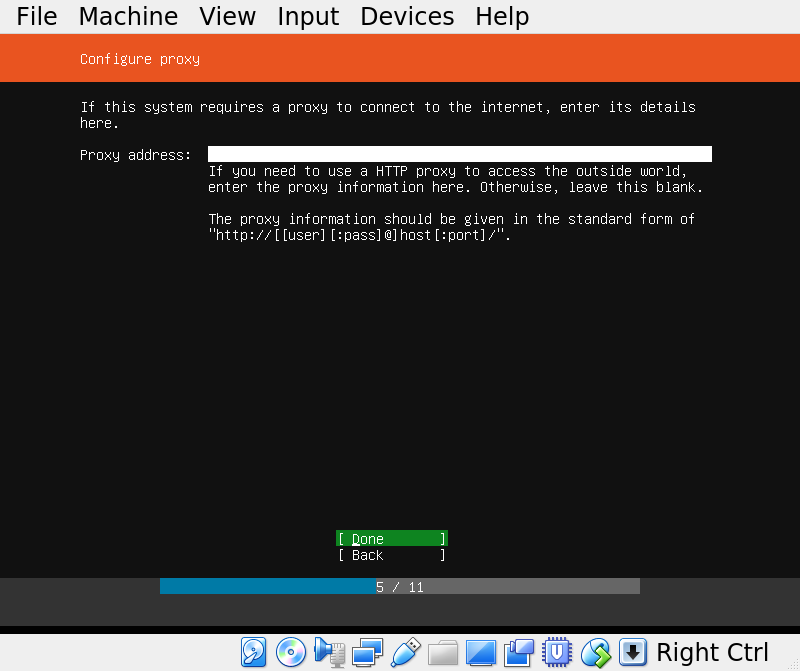
From the VirtualBox home screen, click the Start icon. Your VM will boot, and in about two minutes you’ll arrive at the following screen. Accepting the defaults for the next few screens:
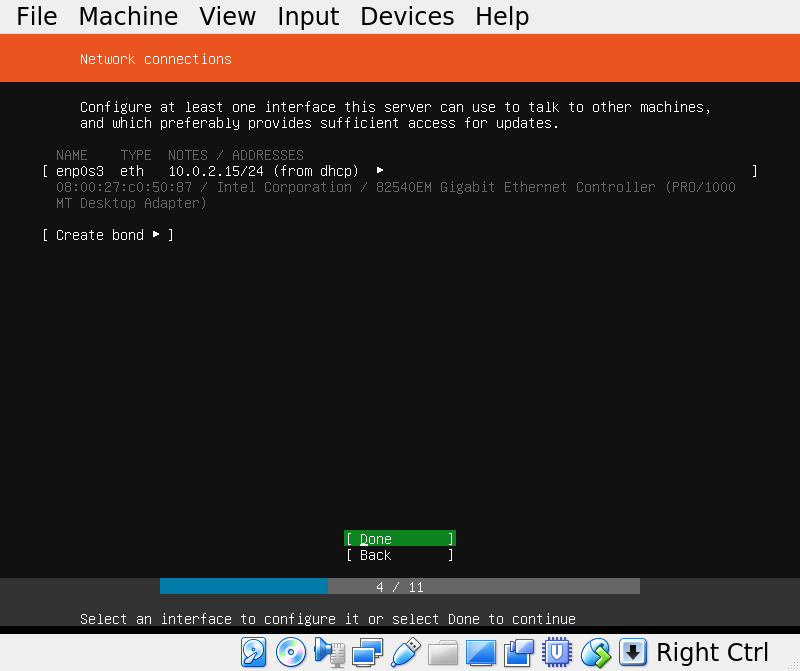
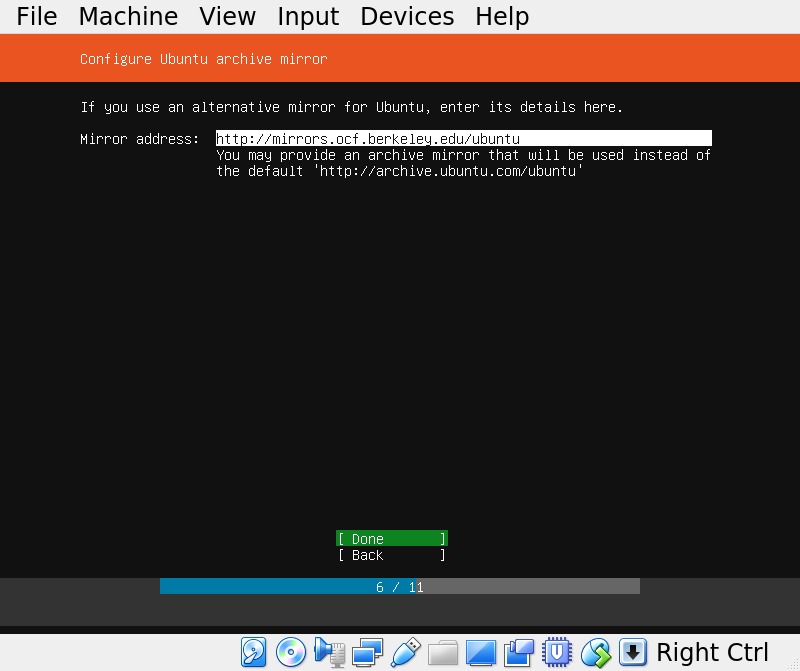
On the next screen, you can accept the default or, for slightly faster download, you can change the Ubuntu mirror to http://mirrors.ocf.berkeley.edu/ubuntu:
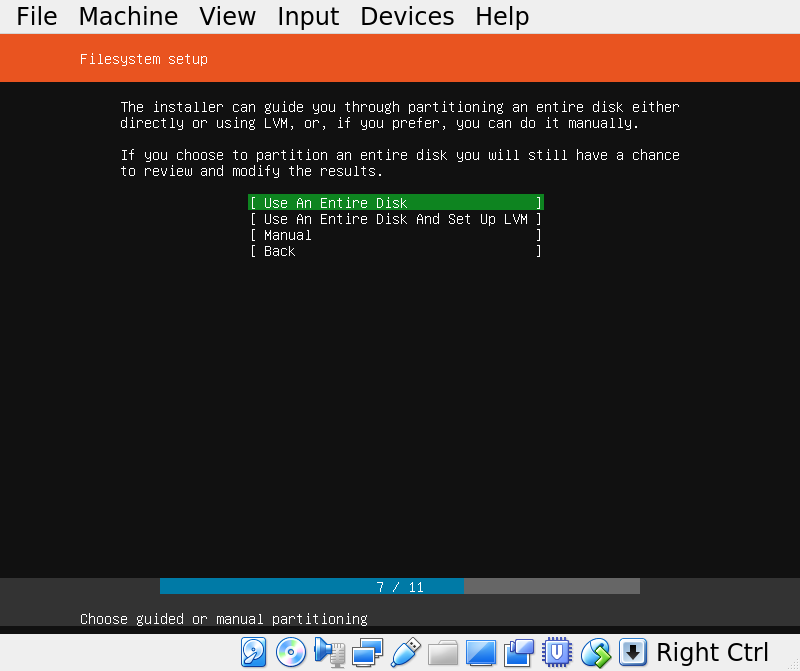
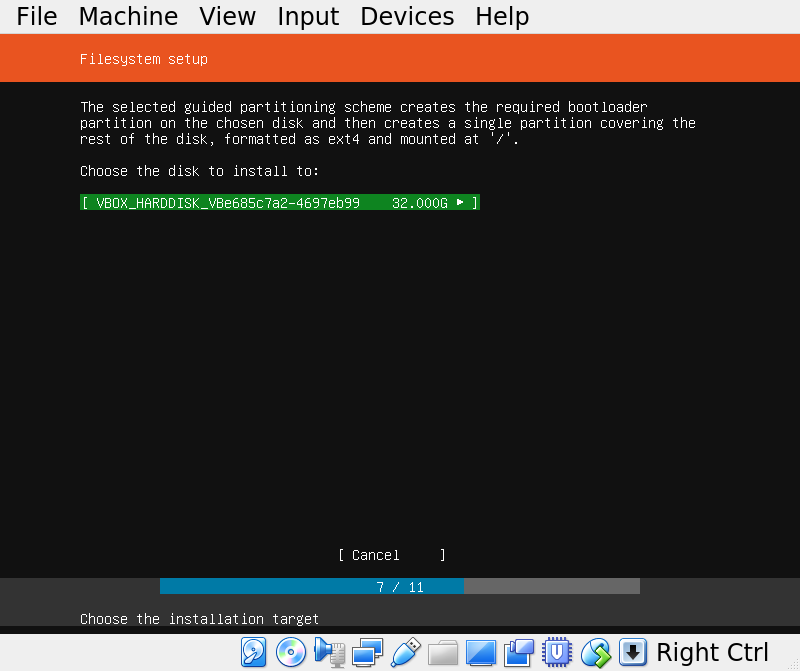
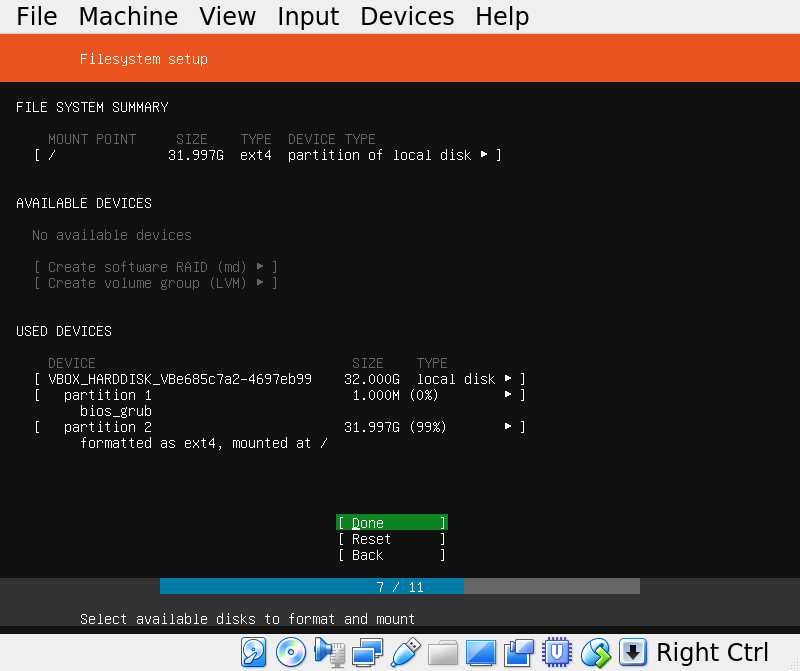
If you’re worried that the default partitioning scheme doesn’t have swap, don’t worry! Ubuntu will create a swapfile for you.
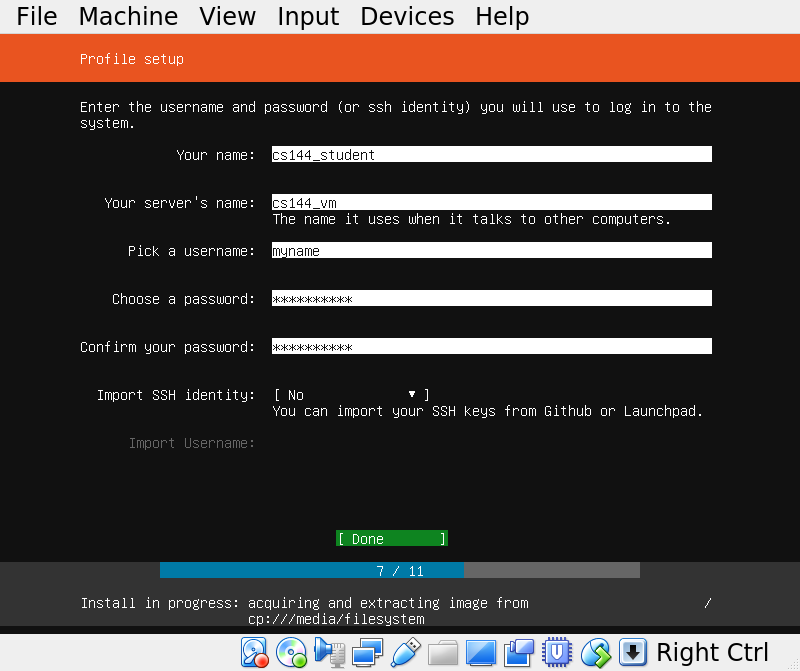
Choose a username, machine name, and strong password.
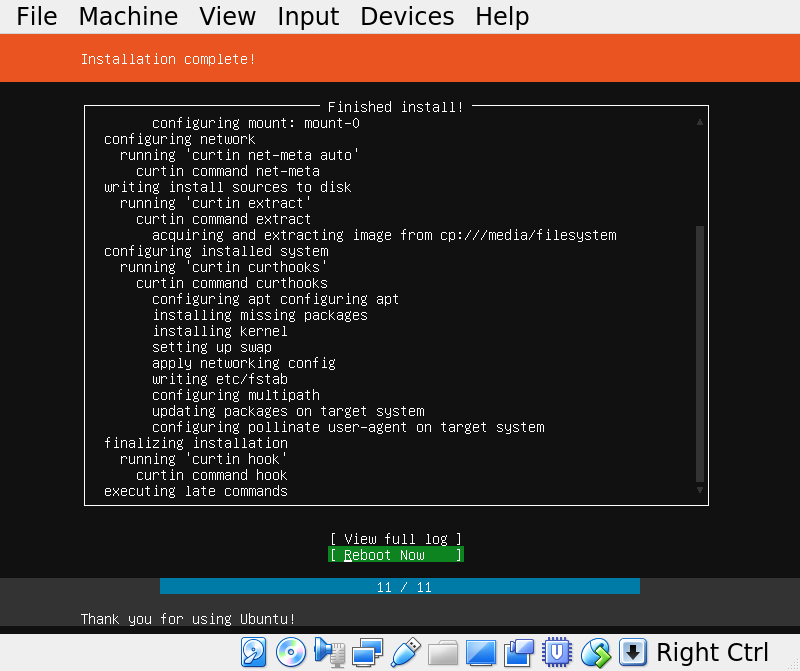
When it asks you to remove the installation medium, just hit enter.
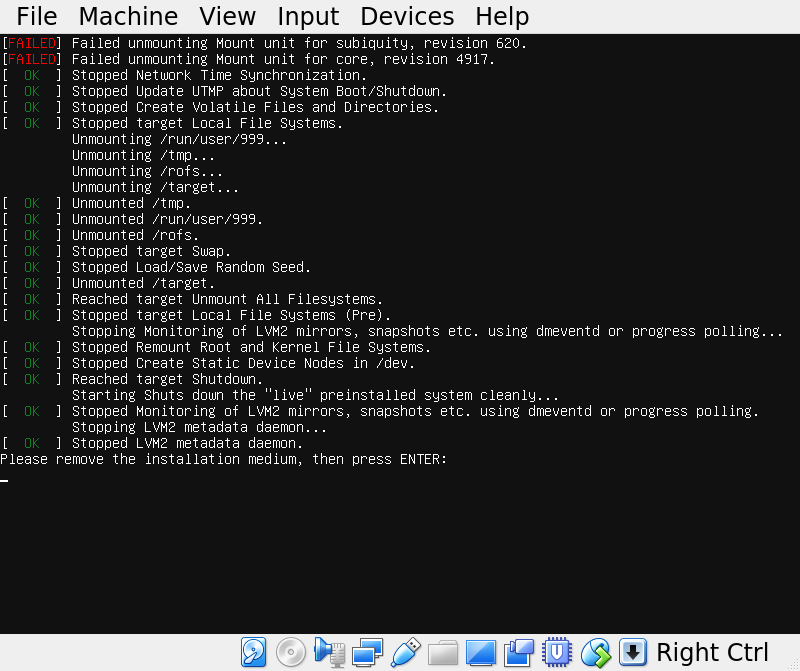
Your VM will reboot into your freshly-installed server environment.
We’ve created a script that will install the required packages, enable folder sharing with the host OS, etc. To download it, in your VM type:
wget https://web.stanford.edu/class/cs144/vm_howto/setup_dev_env.shSTOP and read the script! Don’t just execute some crap you downloaded from the internet. Once you’re satisfied that you understand what’s going on:
bash ./setup_dev_env.shOnce the script has finished, you can shut down your machine for now:
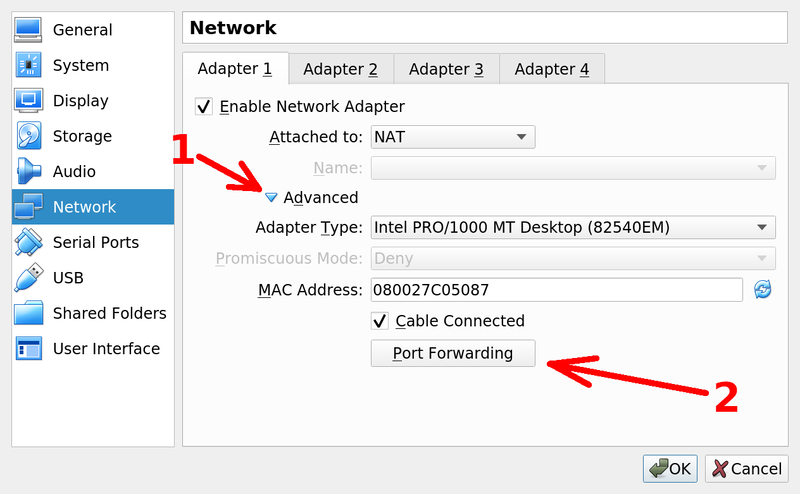
sudo shutdown -h nowFrom the VirtualBox home screen, click Settings or type Ctrl-S, then select Network, click the “Advanced” button, and click “Port Forwarding”.
This will bring up the port forwarding dialog. Click in the top-right corner to add a new rule.
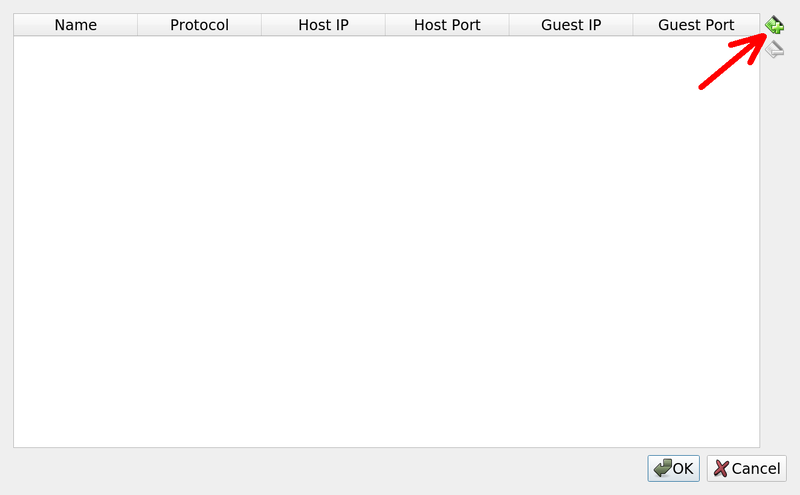
Give it a name, and use the following settings:
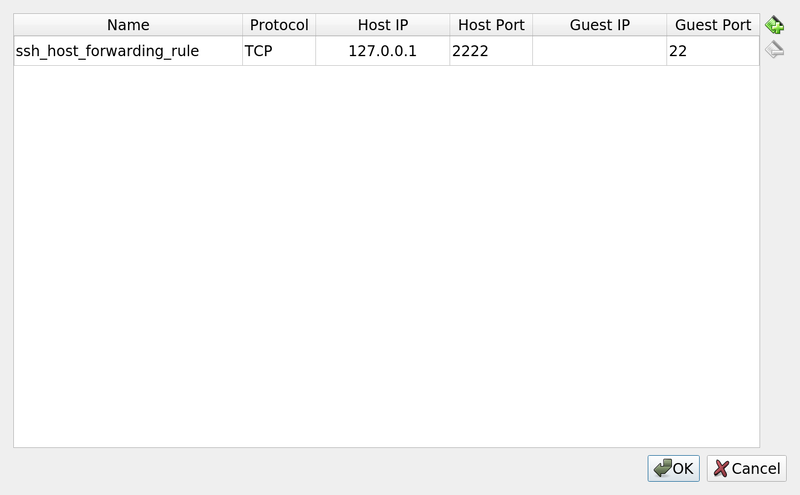
Click OK a few times to get back to the VirtualBox home screen.
This will forward port 2222 of the host machine to port 22 (ssh) for the guest machine. You will be able to SSH into your VM using
ssh -p 2222 myname@localhostwhere myname is the username you chose when setting up your VM.
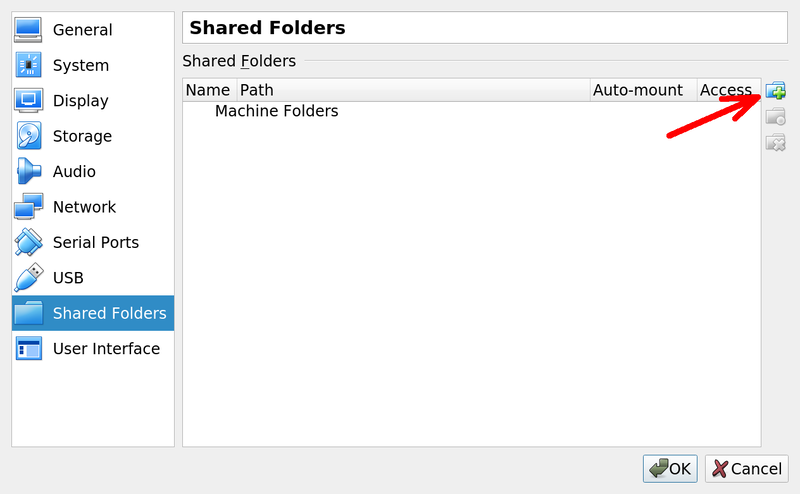
From the VirtualBox home screen, click Settings or type Ctrl-S, select “Shared Folders” in the column on the left, then click the “Add” button in the top-right corner.
Select a folder from the host machine to add. We recommend ticking “Auto-mount” to have it mounted automatically when your VM boots.
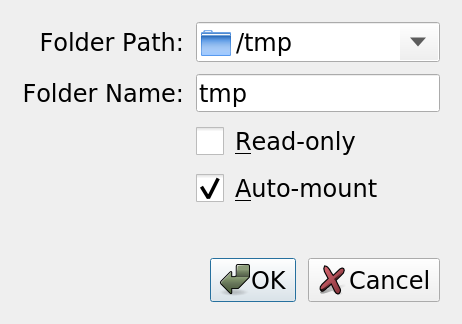
Auto-mounted folders will be available at /media/sf_<FolderName>, where where <FolderName> is the name you used in the Shared Folder dialog immediately above (in this example, <FolderName> would be tmp).
If you didn’t tick Auto-mount, you can still mount shared folders manually in your VM with:
sudo mkdir -p /media/sf_<FolderName>
sudo mount -t vboxsf -o rw,gid=vboxsf <FolderName> /media/sf_<FolderName>