This guide will walk you through setting up the provided VM image in VirtualBox.
Install VirtualBox.
If your host OS is linux, your distribution may already package virtualbox:
On Debian-derived distributions (like Ubuntu), apt-get install virtualbox
On arch, pacman -S virtualbox virtualbox-host-modules-arch (or virtualbox-host-dkms if you’re running a custom kernel)
CentOS (and probably Fedora) users should consult the wiki
This is a large file, so download it before the Wednesday-night lab session (to avoid everybody downloading it at the same time), ideally over a wired connection or by sitting close to an access point.
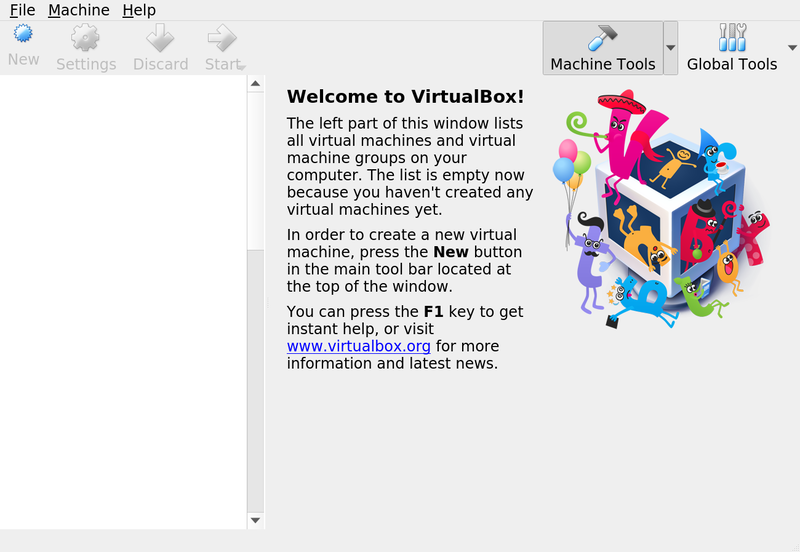
Start VirtualBox. You should see this:
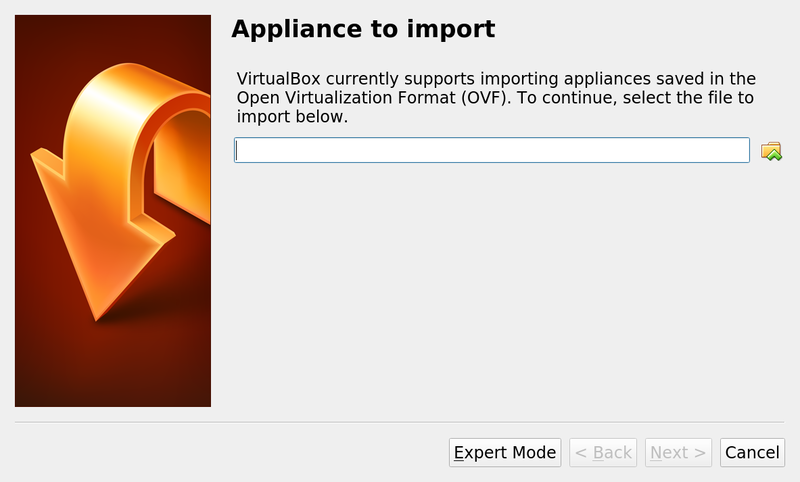
Type Ctrl-I or click “File” -> “Import Appliance…” to bring up the import window. Type in or browse to the location of the cs144_vm.ova file you downloaded above.
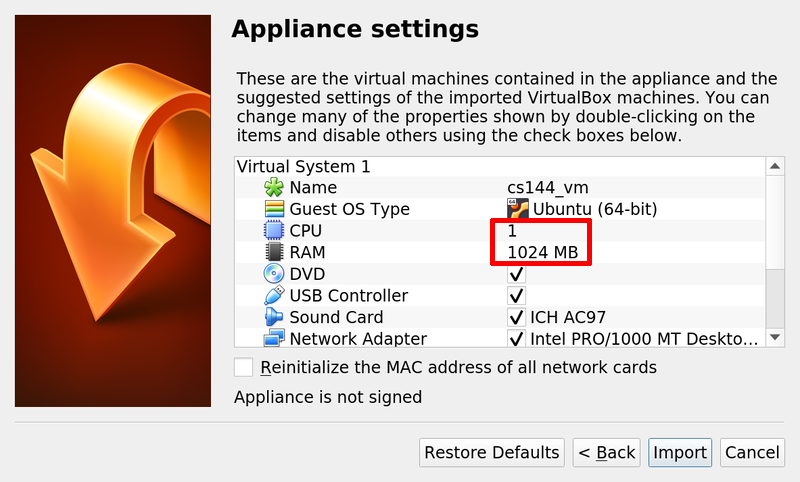
The default settings are acceptable, but it’s better if you can increase the number of virtual CPUs and the amount of RAM available to your VM in order to increase performance.

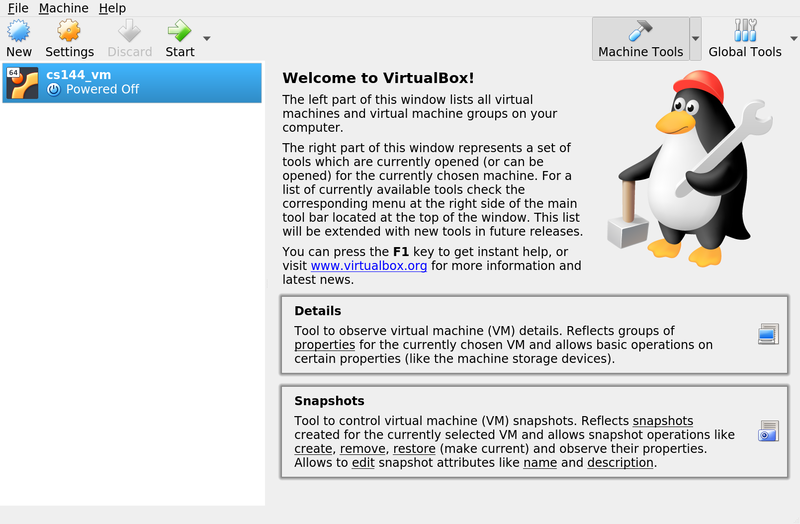
Success! Back at the home screen, select your newly imported VM and hit the Start icon.
The VM will boot to a textual interface. Your username is cs144, and the default password is also cs144.
We recommend that you interact with your VM primarily using ssh. Many students use the SSH integration in an editor like VS Code to edit files on the VM using SSH. We do not recommend setting up a "shared folder" or a graphical interface on the VM itself.
The VM image is set up so that VirtualBox will forward TCP connections to localhost:2222 on the Host machine to port 22 (ssh) on the VM. When your VM is running, you should be able to connect as follows:
ssh -p 2222 cs144@localhostFor Windows users needing an SSH client, we recommend Putty.