|
Staining the drum is an aesthetic step. A darker stain will hide differences in grains and hide the glue lines. However, some groups prefer not to hide the "origin" of their drums. It is a matter of group preference.
Applying finish to the drum is a practical step. Finish protects the surface of the drum from moisture and dirt, and will definitely extend the life of the drum.
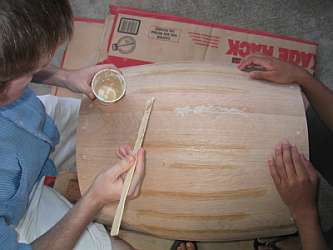
- On our drums, a few gaps formed where the staves separated. This was because we tried to force the barrel into a rounder shape by wedging 2x4's inside during the gluing process to push out the sides. This made the barrel very round at the expense of some gaps on the outside: an unforseen result. We used a toothpick to apply a mixture of sawdust and wood glue to the cracks.

- Sand the barrel with 220 grit sandpaper and wipe it down to ensure that it is as smooth as possible.
- Apply the stain and let it dry for 1 day.
- It is best to apply at least 3 coats of polyurethane finish. Apply it as thinly as possible to avoid drips and runs and to speed up the drying time. Let it dry 1-4 days between coats (depending on temperature and humidity), and sand the drum surface lightly with 220 grit sandpaper in between coats (this will smooth out brushstrokes and drips).
- The polyurethane is dried enough when it doesn't gum up the sandpaper too quickly. It will be very dusty.
- Also apply polyurethane to the inside of the drum to protect the glue and wood from moisture.
- After the last coat, do not sand. Let the drum dry for 4 days, and it will be ready to skin.
|

 Introduction
 History
 Process
 Thank Yous
