|
Reinforcing the Reinforcement:
In this stage, fiberglass body filler is added to the rim to reinforce it. Not all groups do this, and there is some disagreement over its necessity, but Zenshin Daiko does do it, so it is described here.
Once the fiberglass is mixed with the hardener, work quickly. Don't mix too much at once, or it will go to waste.
- If the top edge of the rim is not smooth, use the planer to even out the surface, and then sand it down.
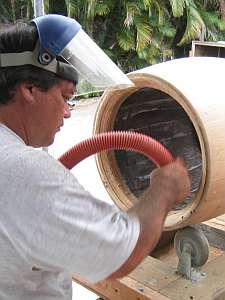
- There is likely a lot of sawdust built up inside the drum. Clean out the inside surface of the drum with a wet/dry vacuum cleaner.
- With the drum lying on the "Upsidedown Cart", screw 1" long screws about 1" away from the rim inside the drum. Use one screw per stave, and only screw it in about halfway. The screws will act as anchors for the body filler.
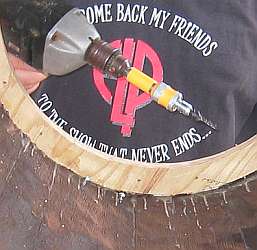
- Repeat on the other side of the drum.
- Fiberglass body filler comes with a tube of hardener that must be mixed in to make it work. Remember to knead the tube of hardener so that it is mixed up before you squirt it out.
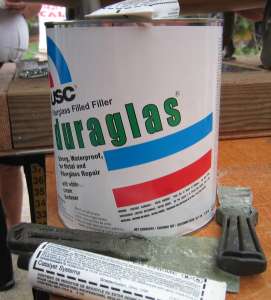
- Mix the fiberglass and hardener on a smooth surface with a putty knife or spatula. Mix it well. Don't use too much hardener or it will harden too quickly!

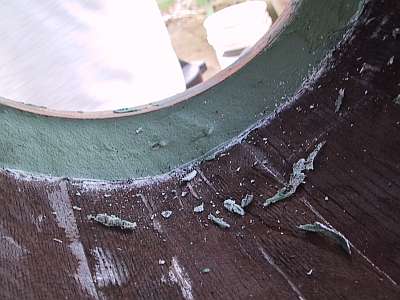
- Use the putty knife or spatula to shove the body filler into the separation between the rim of the barrel and the plywood. Smooth it out.
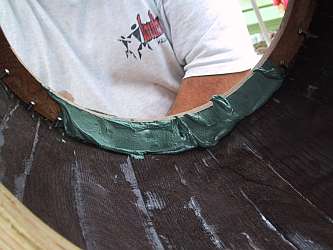
- Scrape off the excess body filler, especially around the edges.
- Continue to repeat the last three steps until the entire rim has body filler around it.
- When you are done, leave it. Don't keep playing with it.
- Repeat on the other side of the drum.
|
 Introduction
 Process